2 min to read
Stuffed Bell Peppers
 All images are AI-generated with DALL-E 2.
I was up late last night, binge-watching my new favorite show on Netflix, “Breaking Bad: The Next Generation.” I was so engrossed in the story that I didn’t even hear my stomach growling. Suddenly, I realized how hungry I was! I got up and rummaged through my fridge, looking for something to eat.
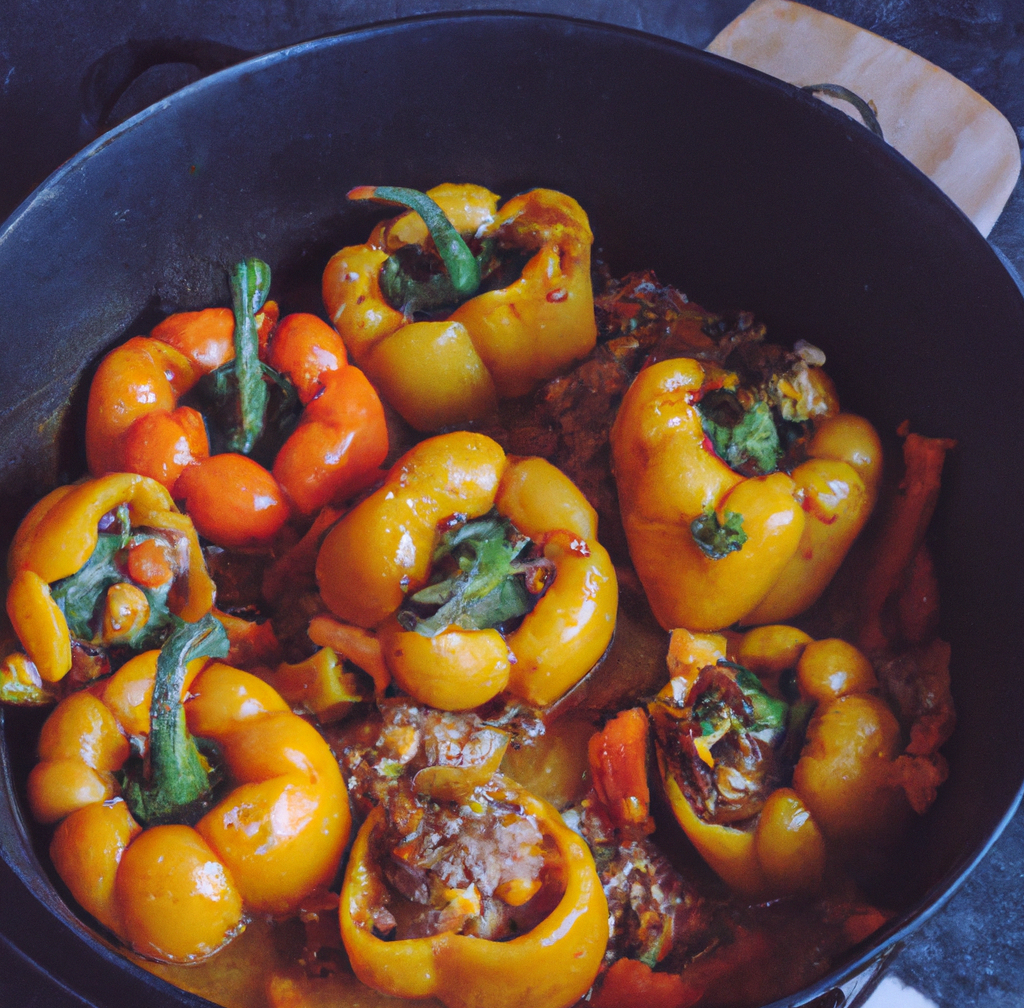
I found a package of ground beef that needed to be used up, and some bell peppers that were starting to look a little wilted. I decided to make stuffed bell peppers - one of my favorite comfort foods.
I sautéed the beef with some onions and garlic, then added in some rice and tomato sauce. I spooned the mixture into the bell peppers, wrapped them in foil, and popped them into the oven.
While they were baking, I took a moment to reflect on how lucky I am. Sure, sometimes life gets tough and things don’t go according to plan. But when we take the time to appreciate the simple things - like a delicious home-cooked meal - we realize just how good we have it.
The stuffed bell peppers came out of the oven smelling amazing. My mouth was watering as I took my first bite…and it tasted even better than it smelled! As I savored every bite, I thought about how grateful I am for all the wonderful things in my life - including this delicious meal.
Ingredients
- 4 large bell peppers
- 1 pound ground beef
- 1/2 cup onion, diced
- 1/4 cup rice, uncooked
- 1 (14.5 ounce) can diced tomatoes, undrained
- 1 teaspoon garlic powder
- 1 teaspoon salt
- 1/4 teaspoon black pepper
Instructions
-
Preheat oven to 350 degrees F (175 degrees C).
-
Cut the tops off of the bell peppers and remove the seeds. In a large pot, cook the bell peppers in boiling water for 5 minutes. Drain and set aside.
-
In a medium skillet over medium heat, cook the ground beef until browned; drain any excess grease. Add the onion, rice, diced tomatoes with their juice, garlic powder, salt, and black pepper to the pan; mix well and bring to a simmer. Simmer for 10 minutes or until the rice is fully cooked.
-
Spoon the beef mixture evenly into each of the prepared bell peppers; wrap tightly with foil. Place on a baking sheet and bake in preheated oven for 25 minutes or until heated through.
The text for this blog post and recipe were AI-generated using GPT-3. Use at your own risk.
